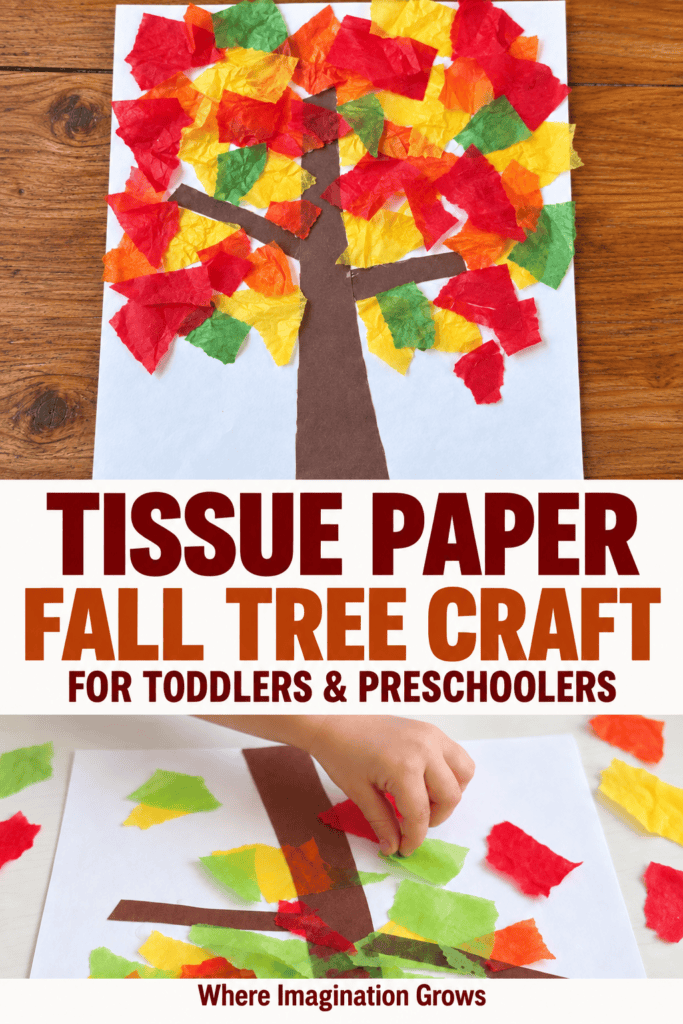
This tissue paper fall tree craft gives toddlers and preschoolers a fun way to make their own autumn leaves. With brown construction paper, colorful tissue paper, and glue, children can build a tree and fill its branches with red, orange, yellow, and green.
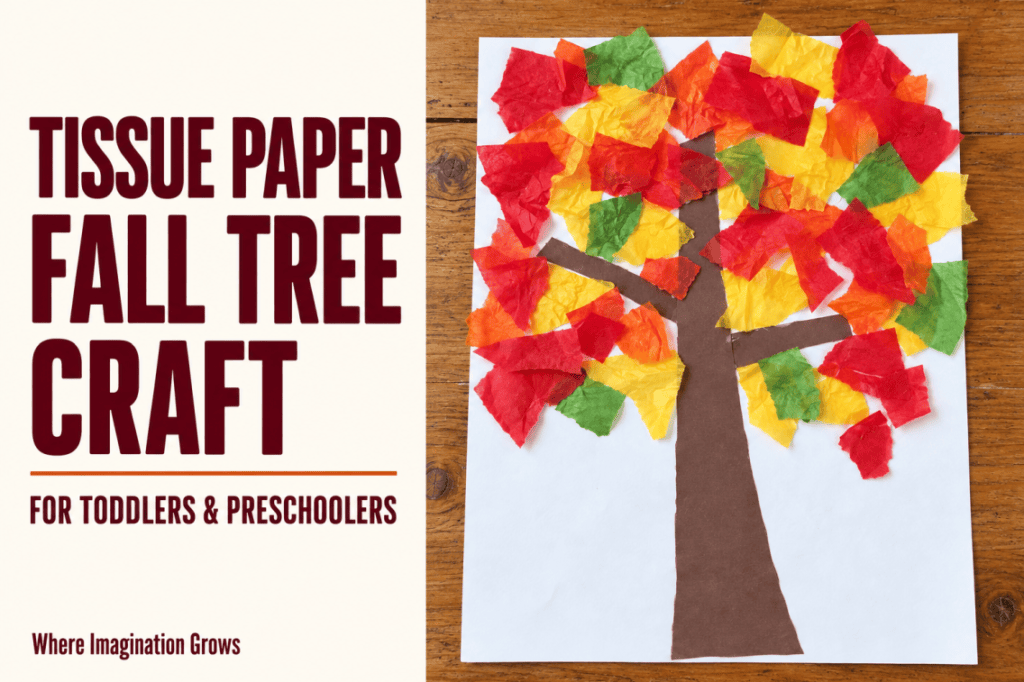
It’s a simple project for home, preschool, or home daycare. Younger children can focus on tearing and placing the tissue paper, while older preschoolers can help cut the trunk and branches. The finished trees make a colorful fall display, but the best part is watching children decide where each leaf should go.
Supplies for Tissue Paper Tree Collages
- White paper or cardstock
- Brown construction paper
- Fall Tissue paper in red, orange, yellow, and green
- White school glue
- A small cup for the glue
- Paintbrushes
- Child-safe scissors, optional
Cardstock provides a sturdier base if children tend to use lots of glue. Regular white paper works too; just let the collages dry flat before moving them.
When we make collages, I often add a little water to the glue. This makes it easier for children to spread with a paintbrush. Add only a small amount at a time so the glue can still hold the tissue paper.
Preparing the Fall Tree Craft
Before inviting the children to the table, cut brown construction paper into a few trunk and branch shapes. You can leave larger pieces for preschoolers who want to practice cutting their own.
Tear or cut a small pile of tissue paper into manageable pieces. Leave some full sheets nearby if children would like to tear more themselves. There’s no need to make neat squares or leaf shapes—uneven pieces look lovely on the finished trees.
Set the glue and paintbrushes where children can reach them. If you’re working with a group, giving each child a small cup of glue can make the activity easier to manage.
How to Make a Tissue Paper Fall Tree
1. Arrange the trunk and branches
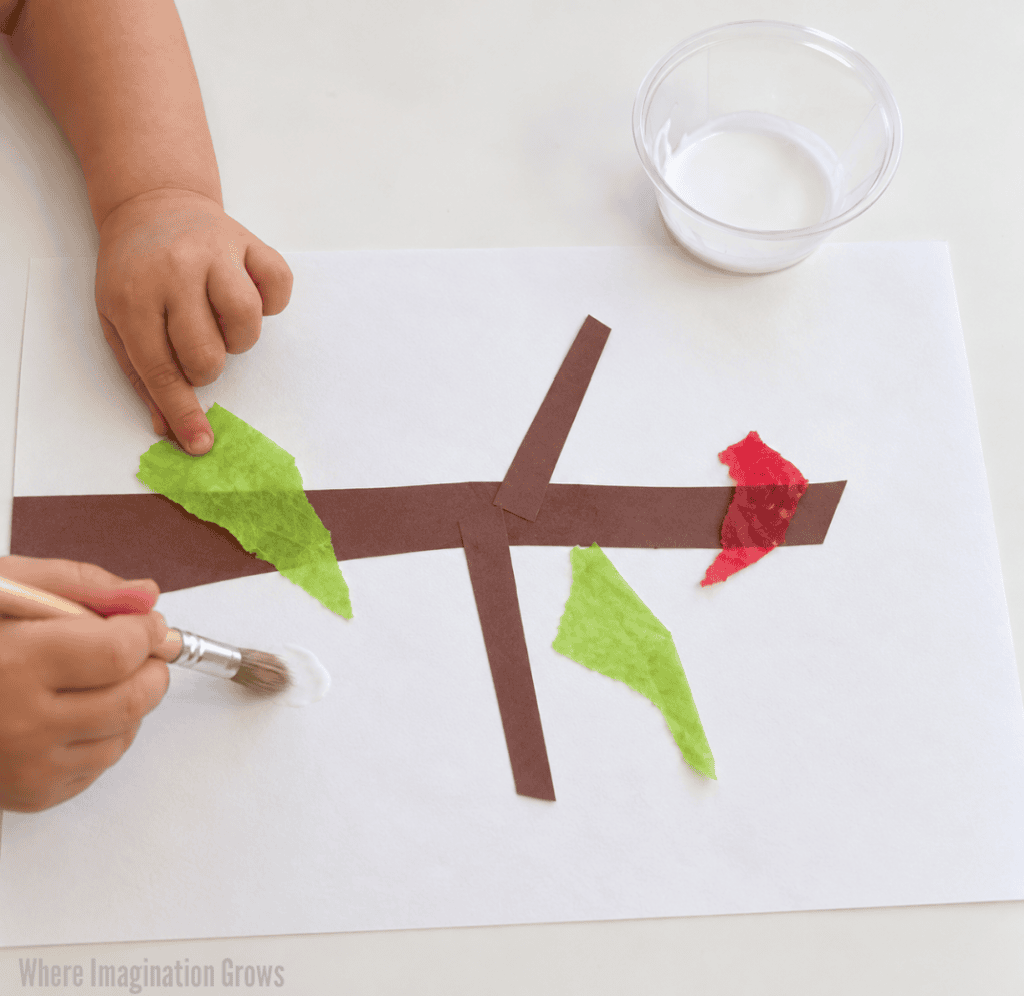
Invite children to place a brown paper trunk on their white sheet. Add a few branches extending out from the trunk, then glue the pieces down.
The daycare children enjoyed practicing their scissor skills while cutting their tree pieces. For toddlers, you can do the cutting ahead of time and let them decide where the trunk and branches belong.
Trees grow in all sorts of shapes, so the branches don’t need to match a sample.
2. Tear tissue paper for the leaves
Offer red, orange, yellow, and green tissue paper. Children can tear it into pieces using their fingers or choose from the pieces you prepared.
Some may want tiny pieces. Others will tear large strips. Both work for this collage, and tearing paper gives little hands another part of the activity to enjoy.
3. Brush on the glue
Let children brush glue onto the white paper and around the branches. Encourage them to work on one area at a time so the glue stays wet while they add their tissue paper.
If a child adds a large puddle of glue, help spread it with the brush. A thin layer is usually enough to hold the paper.
4. Add the colorful leaves
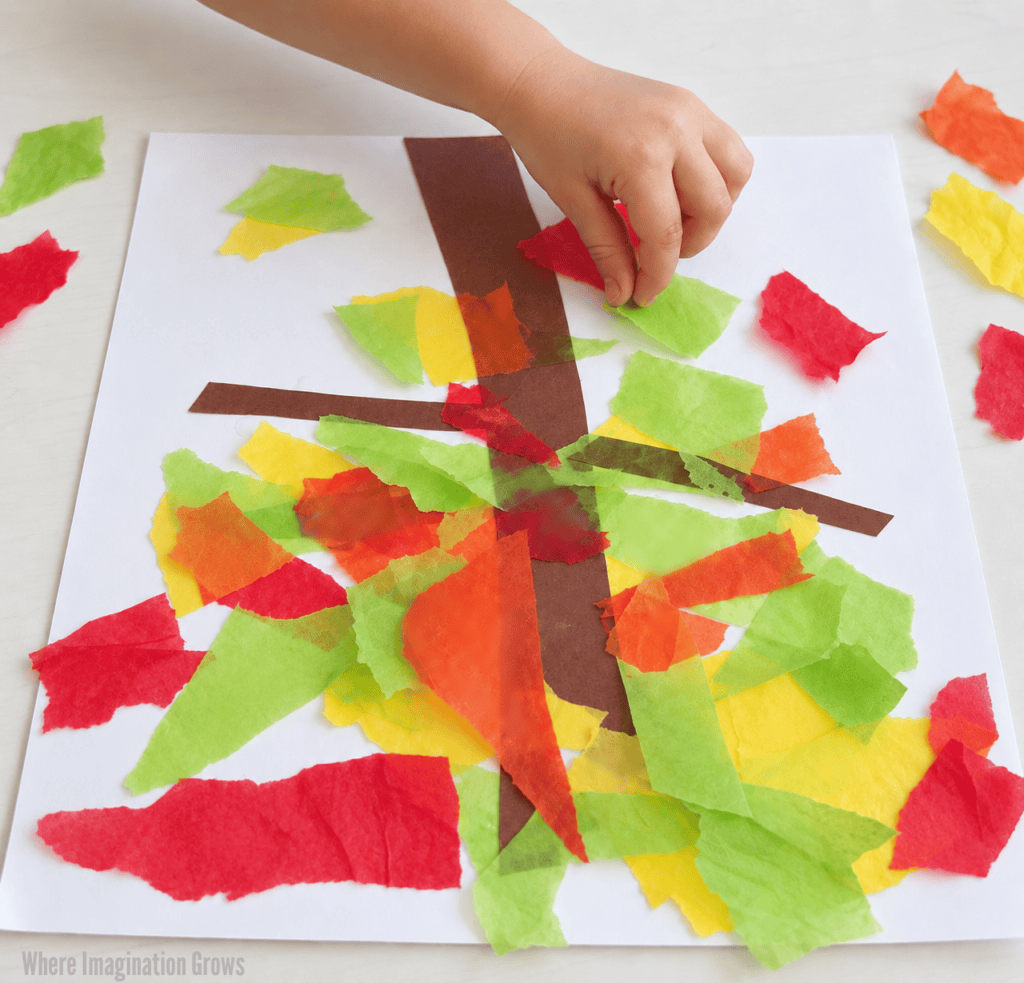
Press the torn tissue paper onto the glued areas. Children can overlap colors, fill the top of the tree, or scatter a few leaves lower on the page as if they’re falling.
Try letting children choose their colors and placements without directing every piece. A tree with mostly red leaves will look different from one covered in yellow and green, and that’s part of the fun.
5. Let the trees dry
Lay the collages flat until the glue dries. If a loose corner lifts afterward, add a little glue underneath and press it back down.
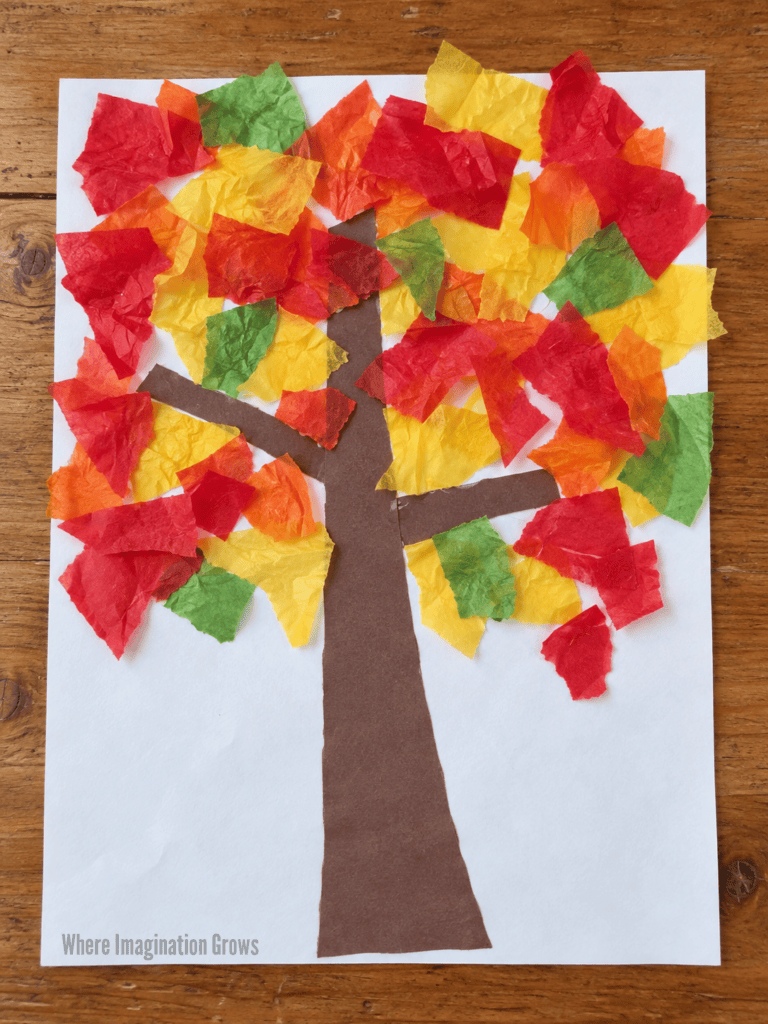
Once dry, hang the trees together for a fall art display or send them home for families to enjoy.
Tips for Making This Craft with Toddlers
Prepare the cutting ahead of time. Young toddlers can concentrate on the tissue paper and glue while you provide the brown trunk and branches.
Start with fewer tissue paper pieces. A small selection is easier for little hands to explore. Add more colors and pieces as they work.
Use a brush for the glue. Painting glue onto the paper gives children another way to participate. It can also be easier than squeezing a glue bottle onto each spot.
Expect the tissue paper to stick to fingers. A damp cloth nearby helps children wipe off glue and continue placing their leaves.
Leave room for their ideas. Some children will cover the entire page, while others will add only a few pieces. Each collage can reflect the way its maker explored the materials.
What Children Practice While Making Tree Collages
This project involves more than gluing paper onto a page. Children use their fingers to grasp and tear tissue paper, hold a paintbrush, and press small pieces into place. Preschoolers can also practice cutting the construction paper for their trees.
As they work, you can talk naturally about the colors they choose and the trees they see outside. Try asking, “Where would you like this branch?” or “What colors do you see on the trees today?” There’s no need for every child to create the same finished picture.
We’ve enjoyed making collages since my daughter was barely a toddler. She loved this tree activity so much that she made three trees. When they were finished, she wanted to take them outside to dry on the logs in our backyard so they could “be big trees again.”
Can You Make Tissue Paper Trees in Other Seasons?
Yes! We used warm colors for a fall tree, but you can change the tissue paper to match what children notice outside.
- Spring: Try light green tissue paper with a few pink or white blossoms.
- Summer: Fill the branches with different shades of green.
You can also make a tree after a walk and let children choose colors that remind them of one they saw. Their collages don’t have to copy a real tree exactly—observing it can simply give them a place to begin.
More Fall Crafts for Toddlers and Preschoolers
If you have tissue paper left over, explore these fall tissue paper crafts for kids. For another tree project, try our mason jar fall tree luminaries. You can also take your art time outdoors with this fall leaf painting activity.
Looking for more crafts and activities? Check out our index for 100+ kids’ activities! Find activities by theme, materials, skills, age, and much more!
Originally published June 2014; Updated August 2026
Lisette, I absolutely love your simple ideas. I finally have courage to say that we are also big fans of tissue paper 🙂 wanted to share with you this idea for playing with tissue paper and water on window, perhaps you will want to play with your kids, especially if your kids like to spray water. Water holds the tissue paper on the window like glue, but only temporary, so they have to spray and spray and spray, just what most kids absolutely love doing! When the paper is dry you can just reuse later. Have fun!
Hi Alena! We’ll definitely have to give the tissue paper and water idea a try! Sounds like fun! Thanks for stopping by and sharing! Off to check out more fun ideas on your site! 🙂