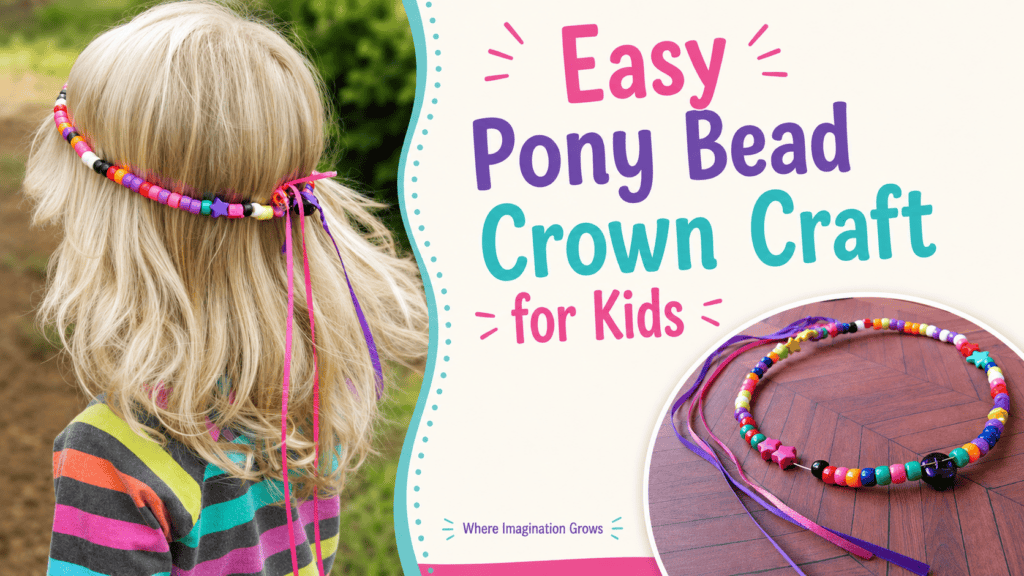
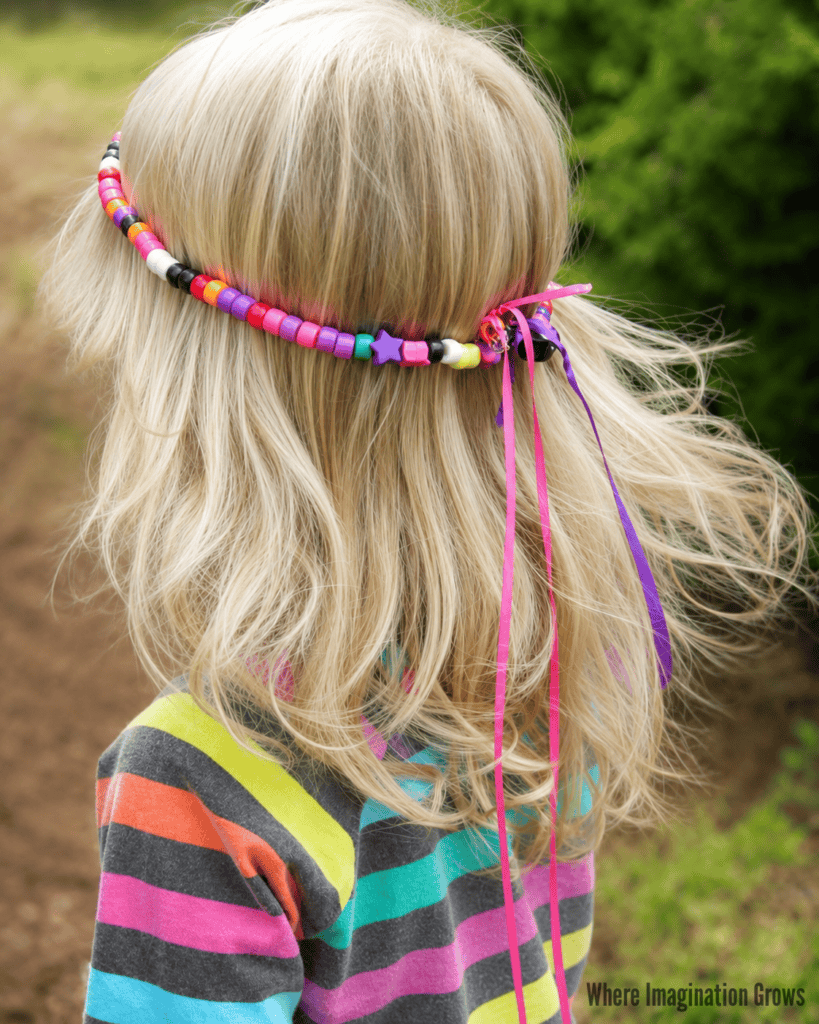
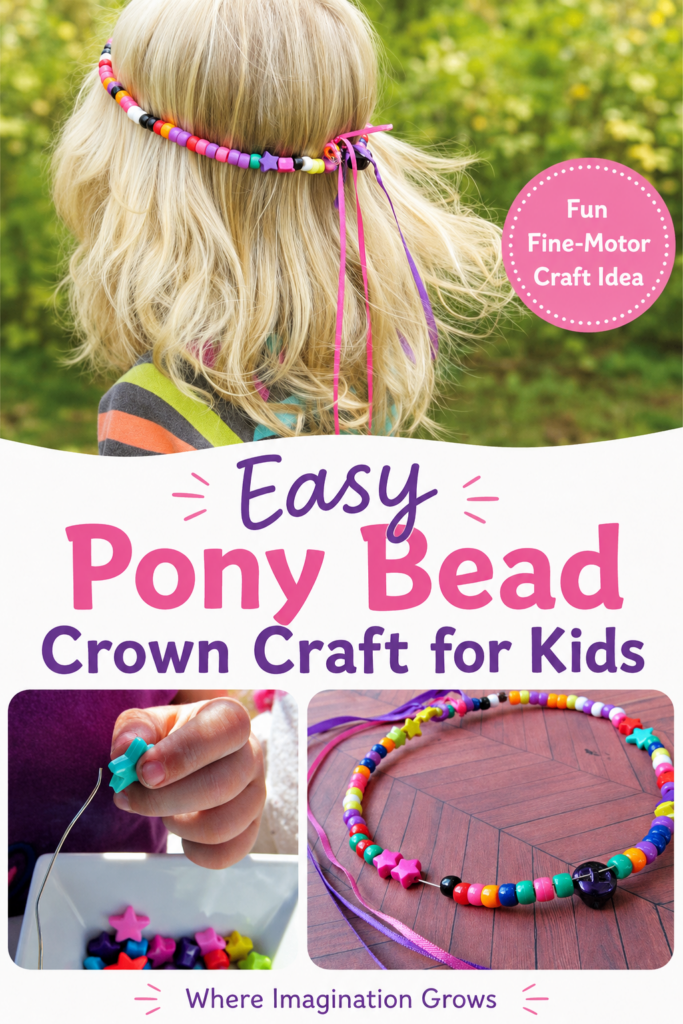
This colorful pony bead crown craft is a fun way for kids to practice threading beads while creating something they can wear for pretend play.
With a little preparation from an adult, children can choose their favorite colors, create their own bead patterns, and decorate their crowns with ribbons, bells, or special-shaped beads. When the crown is finished, it is ready for royal adventures, dress-up play, or a pretend celebration!
This simple crown craft works especially well as a quiet-time activity, a fine motor center, or a creative project for a fairytale, prince, princess, or royal-themed preschool lesson.
This post contains affiliate links. Please see my disclosure for more information.
Pony Bead Crown Craft for Kids
One of my favorite things about this craft is that every crown turns out differently. Children can select their own bead colors and arrange them in any order they choose.
Some kids may carefully create a repeating pattern, while others will enjoy choosing beads based entirely on color and shape. There is no wrong way to decorate the crown.
Supplies
- Pony beads
- Flexible beading wire
- Ribbon
- Decorative beads, such as stars
- Small jingle bells, optional
- Wire cutters
- Small containers or sorting trays
Safety note: Pony beads, decorative beads, and jingle bells are small and may present a choking hazard. This activity requires close adult supervision and is best for children who are no longer putting small objects in their mouths. An adult should cut, connect, and secure all wire ends.
How to Make a Pony Bead Crown
1. Measure the wire
Wrap the beading wire loosely around the child’s head to determine the correct crown size.
Leave a few extra inches of wire so you have enough room to connect the ends after the child finishes adding beads. Cut the wire yourself rather than allowing children to handle the wire cutters.
The crown should rest comfortably on the head without fitting tightly.
2. Secure one end
Twist one end of the wire around a pony bead or create a small loop. This temporary stopper will prevent the beads from sliding off while the child works.
Make sure the wire end is tucked in securely and does not have a sharp edge sticking out.
3. Set out the beads
Place pony beads, decorative beads, and bells in small bowls or divided containers.
You can organize the beads by color or mix everything together and let children search for the ones they want. Sorting the beads before threading them can become an additional learning activity.
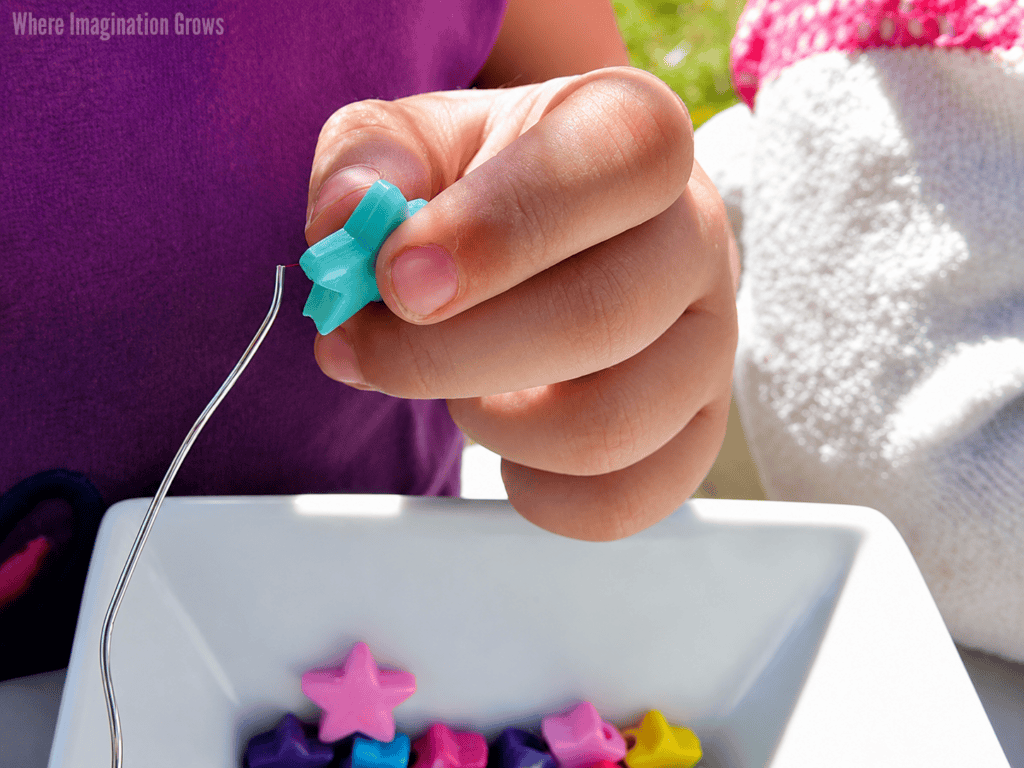
Pony beads work especially well for beginning threading activities because their openings are larger than those of many decorative beads. Children may need additional help when using beads with smaller openings.
4. Thread the crown
Invite the child to slide beads onto the wire.
Children can:
- Create a repeating color pattern
- Alternate pony beads and decorative beads
- Add a special bead in the center
- Use the colors of a favorite character
- Create a rainbow crown
- Design a crown using only two or three colors
Leave some open wire at both ends so the crown can be connected securely.
This part of the activity can take a while, which makes it a great choice for quiet time or a preschool fine motor center.
5. Add ribbon
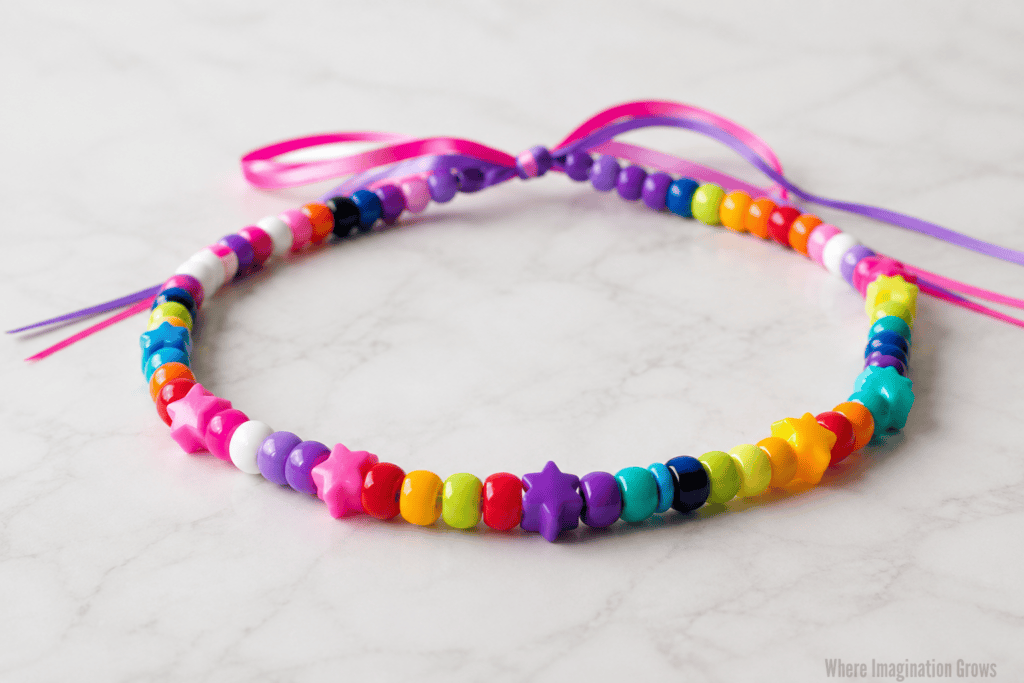
Cut several pieces of ribbon and tie or loop them onto the wire.
Children can select one ribbon or combine several colors. The ribbons can be positioned at the back of the crown or spaced around it as decorations.
6. Connect the crown
Once the child is happy with the design, an adult should bring the two wire ends together and twist them securely.
Trim away unnecessary wire. Carefully bend and tuck the connected ends back through the nearest beads so no sharp edges are exposed.
Check the crown thoroughly before allowing the child to wear it.
The pony bead crown is now ready for dress-up and pretend play!
Why Threading Beads Is Beneficial for Kids
This craft is more than a fun wearable art project. Picking up and threading beads gives children an opportunity to practice several early learning skills.
As children work, they can practice:
- Fine motor control
- Hand-eye coordination
- Concentration
- Color recognition
- Sorting and classifying
- Creating and extending patterns
- Making independent design choices
You do not need to turn the craft into a formal lesson. Simply talking about the colors, shapes, and patterns children are using can add meaningful learning to the experience.
Tips for Making Beaded Crowns with a Group
When doing this activity with several children, prepare each piece of wire before beginning. Measure the children individually when possible, since head sizes can vary.
Give each child a tray or shallow container to help keep the beads from rolling onto the floor. Muffin tins, divided snack trays, and small bowls all work well.
It can also help to place a small number of beads on the table and refill the containers as needed. This makes cleanup easier and prevents an entire package of beads from spilling at once.
Write each child’s name on a piece of masking tape and attach it to the unfinished crown if children will be completing the project at different times.
Pony Bead Crown Variations
The basic crown can be adapted to fit many different preschool themes.
- Rainbow Crown– Set out beads in rainbow colors and encourage children to place them in color order.
- Fairy Crown– Use pastel beads, star-shaped beads, and flowing ribbons.
- Royal Crown- Offer gold, silver, purple, red, and blue beads for a traditional royal color palette.
- Birthday Crown- Use the birthday child’s favorite colors and add curling ribbon to the back.
- Pattern Crown- Begin a simple AB or ABC color pattern and invite the child to continue it around the crown.
Ideas for Using the Finished Crowns
After making the crowns, extend the activity with imaginative play.
Children might:
- Host a royal tea party
- Build a pretend castle
- Act out a favorite fairy tale
- Create names for their royal characters
- March in a royal parade
- Make invitations for a pretend ball
- Use blocks to build a kingdom
Crafts that children can play with afterward often keep the experience going long after the art supplies have been put away.
Frequently Asked Questions
What age is this crown craft for?
This activity is best for preschoolers and older children who can safely work with small beads. Close adult supervision is required, and adults should handle all cutting and securing of the wire.
Can I use pipe cleaners instead of beading wire?
Pipe cleaners may work for smaller crowns or simple beaded headbands, but they are usually not long enough to make a full crown without joining several together. They may also feel bulky where the ends connect.
Can children use elastic cord?
Elastic cord is easier to tie and does not have sharp wire ends, but it will create a softer headband rather than a crown that holds a round shape. Make sure it fits loosely and is never tight around a child’s head.
How many beads will each crown need?
The number will depend on the child’s head size and the size of the decorative beads. Set out more beads than you expect to use so children have plenty of colors and shapes to choose from.
How do I keep the beads from falling off?
Create a temporary loop or twist one end of the wire around a pony bead before children begin threading. Leave enough room at the opposite end to connect the finished crown.
Final Thoughts
This easy pony bead crown craft combines fine motor practice, creative expression, and imaginative play in one colorful activity.
Children can make their crowns as simple or detailed as they like, and choosing their own colors and decorations makes each finished crown unique. Once the crown is complete, it becomes a fun dress-up accessory that can inspire even more play.
More Pony Bead and Crown Activities
Continue the creative fun with these related activities:
- Pony Bead Butterfly Craft for Kids
- Easy Paper Plate Crown Craft for Kids
- Light Table Crown Math Game (great off the light table too!)
- DIY Beaded Stick Wind Chimes
- Melted Bead Suncatcher Mobiles
Looking for more crafts and activities? Check out our index for 100+ kids’ activities! Find activities by theme, materials, skills, age, and much more!
Originally published June 26, 2014; updated July 2026.
How cute! There’s a 3 year old princess in my house who will love to make one of these!