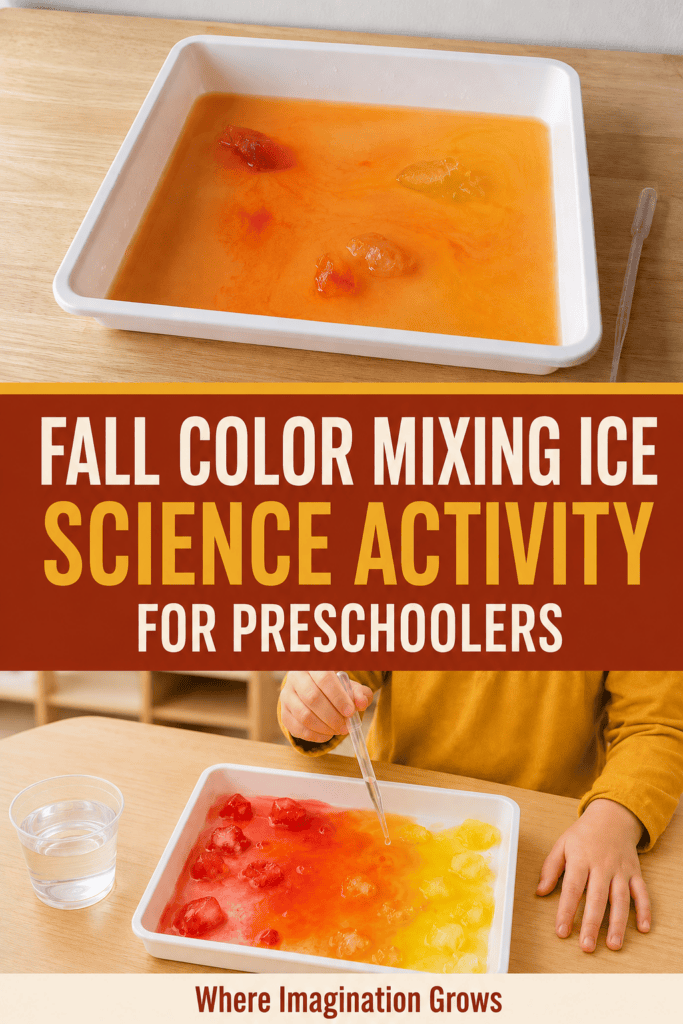
Explore colors, melting, and simple science with this easy fall color mixing ice activity for preschoolers. Colored ice cubes, warm water, and pipettes create an engaging hands-on experiment that is simple to prepare and fun to explore.
Use red and yellow ice to make orange, or combine blue and yellow ice to make green. Preschoolers can watch the colors slowly spread through the tray as the ice melts and the colored water begins to mix.
This activity is perfect for a fall preschool theme because the finished colors resemble pumpkins, apples, and changing leaves.
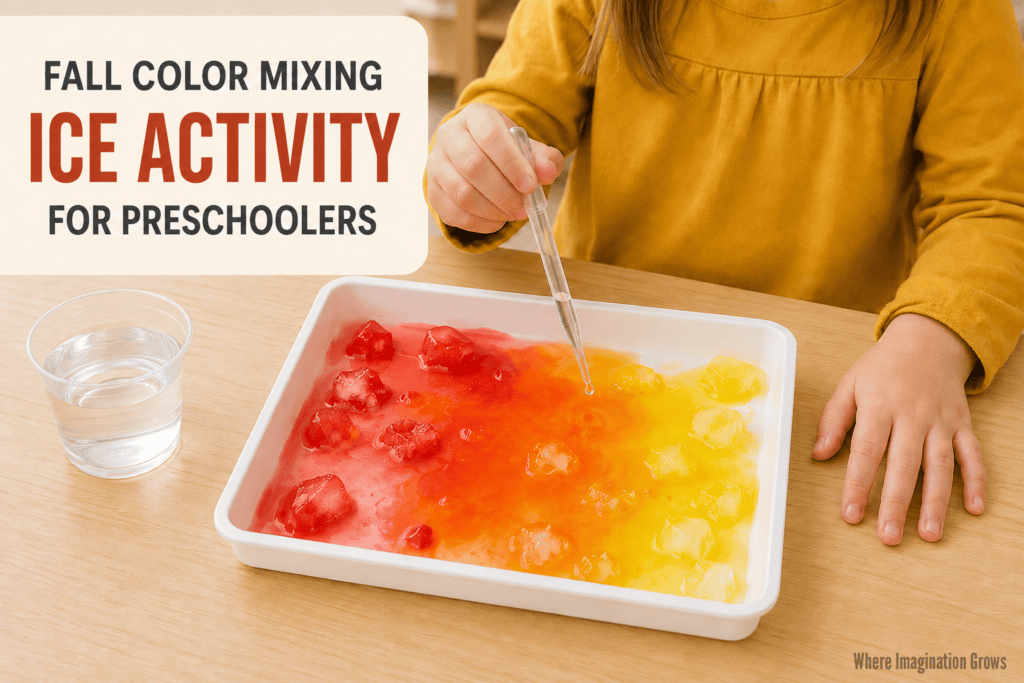
Fall Color Mixing Ice Experiment
Color mixing activities help children see how two primary colors can combine to create a new color. Using ice makes the process slower and gives children plenty of time to observe what happens.
As children drip warm water over the ice, they can watch it change from a solid to a liquid. The colored meltwater then moves across the tray and blends with the other color.
This simple activity combines art, science, sensory play, and fine motor practice in one easy setup.
Supplies
You will need:
- Ice cube tray
- Shallow white activity tray or plastic bin
- Warm Water
- Red, yellow, and blue food coloring
- Small clear cups
- Pipettes or eyedroppers
- Small pitcher
- Towels for spills
Food coloring can stain clothing and some surfaces, so protect the table and have children wear play clothes if needed.
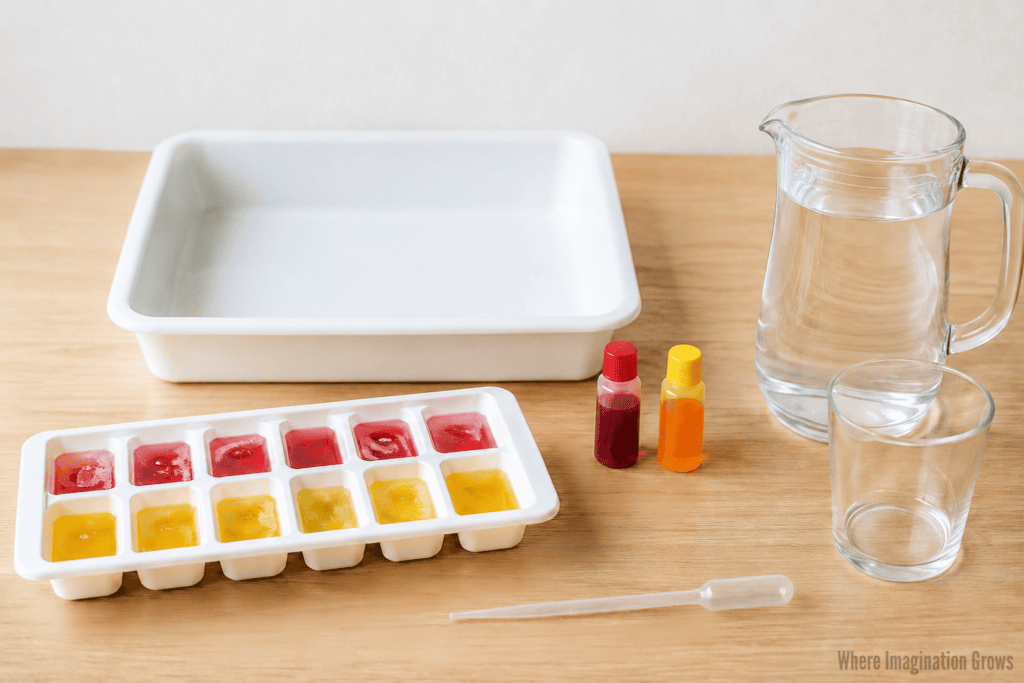
Preparing the Colored Ice
Prepare the colored ice at least several hours before the activity.
- Fill two or three cups with water.
- Add a few drops of red food coloring to one cup and orange to another.
- Pour the colored water into an ice cube tray until you have an even amount of red and orange.
- Freeze the tray until the colored water is completely solid.
Avoid making the colors too dark. Lighter colored ice is more translucent, making it easier for children to see the colors moving and mixing as the ice melts.
How to Set Up the Fall Color Mixing Ice Activity
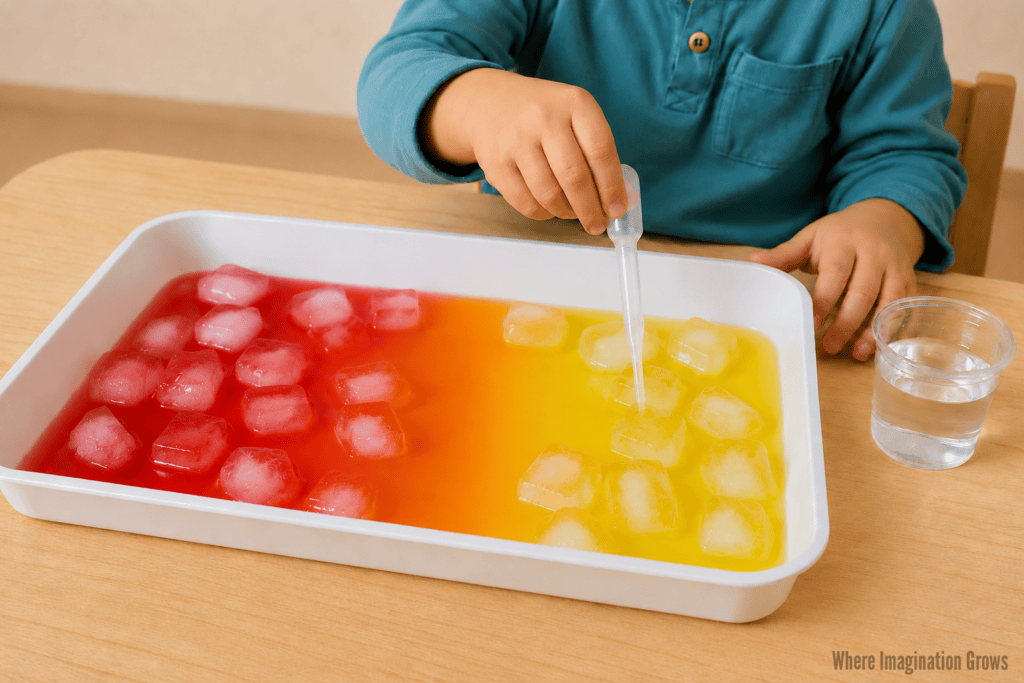
Place the colored ice cubes on opposite sides of a shallow white tray.
For orange (other color mixing is optional):
- Place red ice on one side.
- Place yellow ice on the other side.
Leave some open space in the center of the tray. This gives the melting colors an area where they can meet and blend.
Set a small cup of warm water next to the tray and provide one or more pipettes. The water should feel warm but not too hot.
Exploring Colors with Melting Ice
Show children how to squeeze the pipette, draw up a small amount of warm water, and release it over the ice.
As they add water, invite them to watch for changes:
- Is the ice getting smaller?
- What happens when warm water touches the ice?
- Where is the colored water going?
- What happens when the two colors meet?
- What new color can you see in the center?
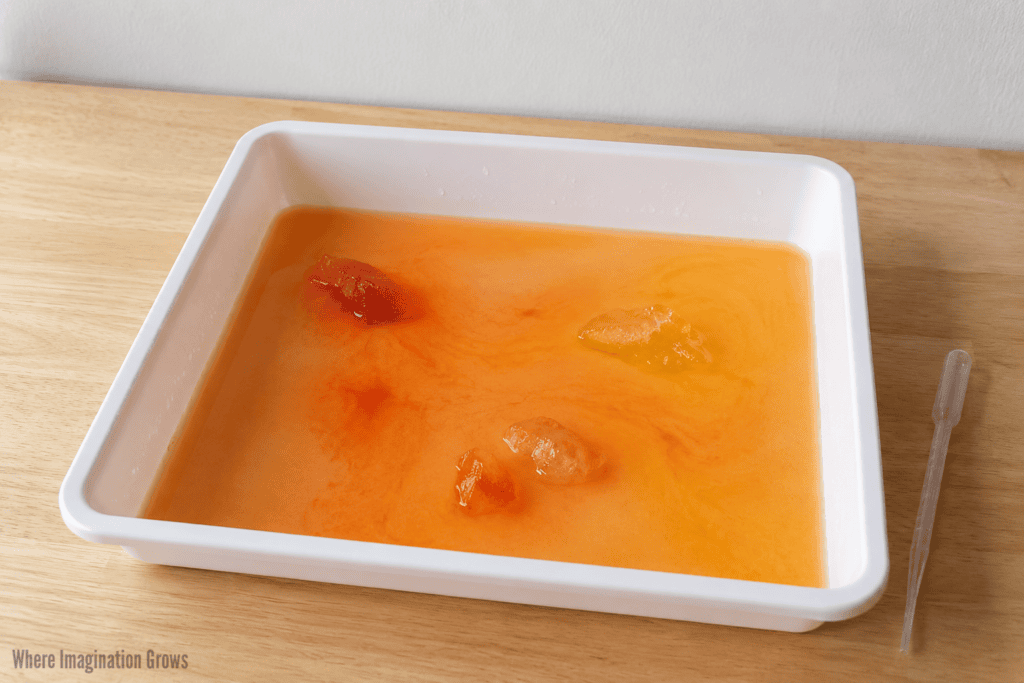
The change will happen gradually. At first, children may see separate streams of color. As more ice melts, the colors will spread across the tray and begin to blend.
Red and yellow will create shades of orange. Blue and yellow will create different shades of green.
Children can continue adding water, moving the remaining ice, and experimenting until the ice is mostly melted.
What Preschoolers Learn
This fall color mixing ice activity supports several areas of early learning.
Color Recognition and Color Mixing
Children practice identifying primary colors and discover how two colors can combine to make a secondary color.
Early Science Skills
Preschoolers observe ice changing from a solid to a liquid. They also explore how temperature affects melting and how liquids move and mix.
Fine Motor Development
Squeezing and releasing a pipette helps strengthen the small hand muscles children use for writing, cutting, fastening clothing, and other everyday tasks.
Cause and Effect
Children can immediately see how their actions affect the experiment. Adding warm water makes the ice melt faster and causes the colors to spread.
Language Development
The activity introduces descriptive words such as:
- Melt
- Freeze
- Solid
- Liquid
- Warm
- Cold
- Blend
- Transparent
- Bright
- Pale
Questions to Ask During the Activity
Open-ended questions encourage children to observe, predict, and explain their ideas.
Try asking:
- What do you think will happen when we add warm water?
- Which ice cubes are melting the fastest?
- What color do you think these two colors will make?
- Where do you see the new color beginning to appear?
- How is the ice changing?
- What could we do to make the ice melt faster?
- What would happen if we used cold water instead?
There is no need to correct every answer immediately. Giving children time to test their predictions is an important part of hands-on science.
Fall Color-Mixing Variations
Once children understand the basic activity, try one of these simple variations:
- Compare warm and cold water to see which melts the ice faster.
- Use red and yellow ice to create pumpkin-orange water.
- Use blue and yellow ice to make green before discussing how leaves change color in fall.
- Add only a few ice cubes at a time and predict the final color.
- Provide two pipettes so children can work from opposite sides of the tray.
- Freeze different amounts of food coloring to create lighter and darker shades.
- Take photographs at different stages to document how the colors change.
Tips for a Successful Activity
- Use a shallow tray with a light-colored interior. A white tray makes it easier to see the colors blending.
- Do not overcrowd the tray with ice. Leaving open space between the colors allows the meltwater to spread and mix naturally.
- Place a towel underneath the activity if children are working on a surface that needs protection. Keep an additional towel nearby for spills.
- If several children are participating, provide extra pipettes and cups of water. You can also divide the activity into smaller individual trays.
- Adult supervision is recommended. Even though the ice is made with food coloring, the colored water should be treated as an activity material rather than a drink.
An Easy Fall Science Activity for Preschoolers
This fall color mixing ice activity turns a few basic supplies into an engaging preschool science experiment. Children can strengthen fine motor skills, investigate melting, make predictions, and discover new colors through hands-on play.
Try red and yellow ice to create warm orange shades, then repeat the experiment with blue and yellow to make green. Each version gives preschoolers a new opportunity to observe, experiment, and discover what happens when colors mix.
More Fall and Preschool Science Activities
Keep the hands-on learning going with these fall and science activities from Where Imagination Grows:
- Explore Fall Leaves on the Light Table and observe leaf colors, veins, shapes, and seasonal changes.
- Build with Colored Ice Blocks while exploring melting, balance, solids, and liquids.
- Try a classic Sink or Float Experiment that encourages children to make and test predictions.
- Learn about force, motion, and gravity with this Preschool Cars and Ramps Science Activity.
- Set up an easy Pumpkin Washing Fall Sensory Bin for water play, fine motor practice, and seasonal exploration.
- Find an entire month of ideas in these 30 Fall Kids Activities for September.
Looking for more crafts and activities? Check out our index for 100+ kids activities! Find activities by theme, materials, skills, age, and much more!
[…] Combine science and sensory play with a fall color-mixing ice activity. […]